Showing posts with label patterns. Show all posts

Tuesday, April 30, 2019

Flounder the fish - free crochet pattern

I'm sharing the pattern for the flounder amigurumi I made as companion for the Ariel mermaid doll  for my granddaughter. This one have the stripes worked in tapestry crochet. But you may also add in the stripes later, like in this first model I made.


Flounder Amigurumi
copyright Mimi Alelis, 2019
This pattern can only be found on this link:
https://mycrochetstuff.blogspot.com/2019/04/flounder-fish-free-crochet-pattern.html


Materials
Worsted weight yarn - yellow and blue
Crochet hook size 4mm
Polyester fiberfill
Small amounts of crochet thread for facial features - black, white and green (for eyes, eyebrows), red for lips
Yarn needle to weave in ends
Crochet Gauge: 9 sts = 2 inches

Notes: Do not join rnds, work in a continuous spiral, marking the beginning of rnds as you go. 


Head and Body
With yellow, start with a magic ring, 
Rnd 1: 6 sc in ring (6 sc).
Rnd 2: 2 sc in each sc around (12 sc).
Rnd 3: (sc in sc, 2 sc in next) 6 times (18sc).
Rnd 4: work in back loops only for this rnd, (sc in next 2 sc , 2 sc in next) 6 times (24sc)
Rnd 5: ch 4, sc in 2nd ch from hook, sc in next 2 ch, sl st in next sc, sc in each sc around, sc on each st on the opposite side of ch 4 in the beginning of this rnd, sc again on the last st (31 sc)
Rnd 6: sc in each sc around (31 sc)
Rnd 7: sc in next 24 sc, sc and hdc in next, sc, hdc and sc in next sc, sc in next 5 sc (33 sts) 
Rnd 8:, Sc in 3 sc, sc and hdc in next, hdc and sc in next. sc in next 20 sc, sc2tog twice, sc in last 4 sc (33 sc)
Rnd 9:, Sc in 2 sc, sc2tog twice, sc in 27 sc (31 sc)
Rnd 10: sc in each sc around (31sc)

Rnds 11-13: sc in 23 sc, change to blue (for the stripe), sc in 15 sc (move marker up the rnd as you go; carry unused yarn at the back of work), change to yellow, sc in 16 sc, change to blue, sc in 15 sc, change to yellow, sc in 35 sc (31 sc)
Rnd 14: sc in each sc around (31 sc)
Rnds 15-17: sc in 23 sc, change to blue, sc in 15 sc, change to yellow, sc in 7 sc, sc2tog. sc in 7 sc, change to blue, sc in 15 sc, change to yellow, sc in 22 sc 
Rnd 18: (sc in 8 sc, sc2tog) 3 times (27sc)
Rnds 19-21: sc in 20 sc, change to blue, sc in 15 sc, change to yellow, sc in 12sc, change to blue, sc in 7 sc sc2tog, sc in 6 sc, change to yellow, sc in next sc, sc2tog, (sc in 7 sc, sc2tog) twice, sc in 7 sc ( 24 sc at the of rnd 21) 
Rnd 22: (sc in 6 sc, sc2tog) three times (21sc)
Rnd 23-25: (sc in 6 sc, sc2tog) twice, change to blue, sc in 5 sc, sc2tog, sc in 5 sc, change to yellow, sc in 3 sc, sc2tog, sc in 2 sc, change to blue, sc in 5 sc, sc2tog, sc in 4 sc, change to yellow, sc in 2 sc, sc2tog, sc in 7 sc (15 sc at the end of rnd 25)
Begin stuffing.
Rnd 26: (sc in 3 sc, sc2tog) 3 times (12sc) Sc in 6 sc, change to blue,
Sl st in next st, cut-off yellow yarn, continue on with blue yarn.
Tail
Rnd 1: ch 1, sc in each sc around, sl st in 1st sc to join (12 sc)
Rnd 2: ch 1(sc in sc, 2 sc in next) repeat around, sl st to join (18 sc)
Rnd 3: ch 12 sc in sc, sc in next 7 sc, 2 sc in each of the next 2 sc, sc in 7 sc, 2 sc in last sc, join ( 22 sc)
Rnd 4: ch 1, sc in 5 sc, sl st in next sc, sc in 10 sc, sl st in next, sc in 5 sc, join (22 sts)
Rnd 5: ch 2, dc in same st, hdc in next 2 sc, sc in next 2 sc, sl st in sl st, sc in next 2 sc, hdc in next 2, (2 dc in next sc) twice, hdc in next 2 sc, sc in next 2 sc, sl st in sl st, sc in next 2 sc, hdc in next 2, 2 dc in last sc, join (26 sts)
Cut off yarn, leaving enough length for sewing. Sew the tail end to close.

Fins (make 2) 
Row 1: Cn 7, turn, sl st in top loops only, from the 2nd ch from hook and next 5 chs, turn..
Row 2: Ch 1, sl st in 3 sts, sc in next 2 st, sc and hdc in last st, turn.
Row 3: Ch 1, sl st in 1 st, sc in 3 sts, sl st in 3 sts, turn.
Row 4: Ch 1, sl st in 3 sts, sc in next 3 sts, turn.
Row 5: Ch 1, sl st in 6 sts. Fasten off leaving 12 inches for sewing.
Sew about 3 sts below the first blue stripe.

Top Flap
Row 1: Ch 16 for base, *ch 5, sl st in 2nd ch from hook, sl st in next 2 ch, sc in next**, turn and sl st in the 2nd sc from hook, turn, repeat from * to **, sl st on the sc in base, hdc in the next ch, repeat * to **, dc on the same st where hdc was made, dc in next 7 chs, hdc in 3 chs, sc in 2 chs, sl st in 2 chs, turn.
Row 2: Ch 1, skip the 1st sl st, sl st in next, sl st in 2 sc, sc in 3 hdc, hdc in 4 dc, dc in 4 dc, turn.
Row 3: Ch 2, dc in same st, dc in next 2, hdc in 3 sts, sc in next, sl st in next. Fasten off leaving 12 inches for sewing.
Sew across top of head and body.

Mouth
Rnd 1: 6 sc in magic ring
Rnd 2: (1 sc, 2 sc in next) 3 times (9sc)
Rnd 3:2 sc in each sc (18 sc)
Rnd 4: Ch 5, skip 5 sc, sc in next 13 sc, 5 sc in ch 5 space, sl st in next sc. Fasten off leaving 18 inches for sewing.


Cheeks (make 2)
Rnd 1: 6 sc in magic ring
Rnd 2: (1 sc in next sc, 2 sc in next) 3 times (9sc)
Rnd 3: (1 sc in next 2 sc, 2 sc in next) 3 times, sl st in next sc (12 sc)
Fasten off leaving 12 inches for sewing.


Eyes (make 2)
With crochet thread and 1.75 (or 1.5 mm) hook,
Rnd 1: With black, 6 sc in magic ring.
Rnd 2, change to green, (2 sc in sc, sc in next) 3 times.
Rnd 3: change to white, 2 sc in sc, sc in next 2 sc) twice, change to black, sl st in remaining sts. Fasten off white, leaving 12 inches for sewing and for embroidering the dot in the pupil. Fasten off black leaving 18 inches for sewing and embroidering of eyebrow.


Update: April 13, 2020
Finished another flounder for my 6yr. old niece today...while we are on quarantine.

Crochet Flounder free Crochet and Other Stuff

Monday, March 25, 2019

Crochet Stuff in 2018

Happy 2019! March is almost over, but again its better late than never - here is my round-up of craftiness in the previous year...with the hopes of continued crafting this year. I know I won't crochet much, since I'd like to focus on health and fitness (activities that get us out of our comfy chair is much better), though there are so many cute crochet stuff I plan to make for my grandchildren.
Meanwhile, please take a look at what I did in 2018.

Crochet Patterns

I was able to add 2 free crochet patterns here in my blog, and one published design in 2018:


Glass Holder and Coaster Set - made from size 8 cotton thread.


And...my latest and favorite published pattern ever (since it appeared on the cover) is my lace crochet yoke top, published as Yesteryear Top in Interweave Crochet Summer 2018.


Projects

I finished only about 17 crochet projects in 2018... mostly small projects, including amigurumi toys and animal appliques.
Some of my favorite projects are these food amigurumi and animal appliques for my granddaughter and kid nephews.


My favorite projects from last year are the Lion and Hippo heads Handpuppets...which I made up the design as I crocheted it. I based it from the images in the cartoon movie "Lion of Madagascar"...inspired by my granddaughter's love of the characters. I have yet to make the giraffe and the zebra (or not...) This took up a lot of my time, but it was worth it to see how much my son and granddaughter loved playing with it.


Another crafty year ahead, beginning with this dreamcatcher I made in January for a friend visiting from abroad.


Thanks for looking! Hope to have you here again in my next post. 


Thursday, June 26, 2008

Chic cell phone purses

I love making cell phone purses...so I came up with another design of my own ;)
Here I used 3 different shades of cotton thread, but one is actually the other two colors combined for a tweed effect. Crocheted with two strands of thread held together, or may be substituted with one strand of DK weight yarn such as Catania. (See project below)


Pattern is available for purchase, here.
The pattern includes options for crocheting a necklace strap, a loop for the metal attachment, or a handle. It also has instructions for optional button closure and crocheted button cover.


My project using Catania yarn.
I used dark brown as color A, and beige as color B. For the tweed effect on the flap, I separated the strands of about 4 meters each color of the 4-ply Catania. Then I crocheted the flap using two ply of each color.

Tuesday, May 08, 2007

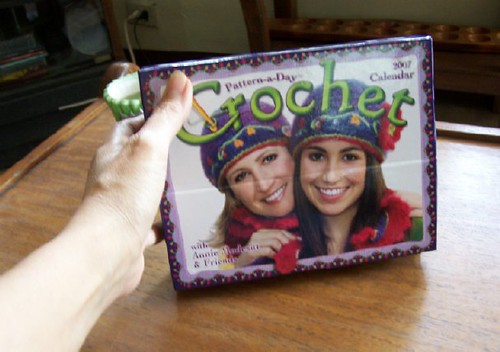
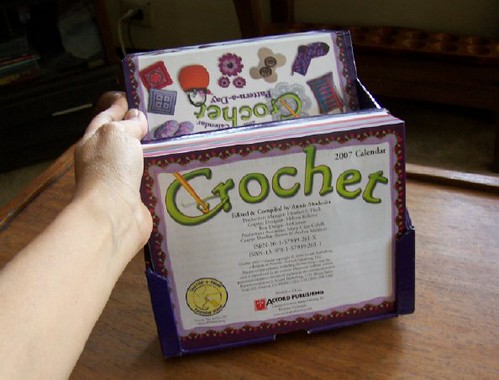
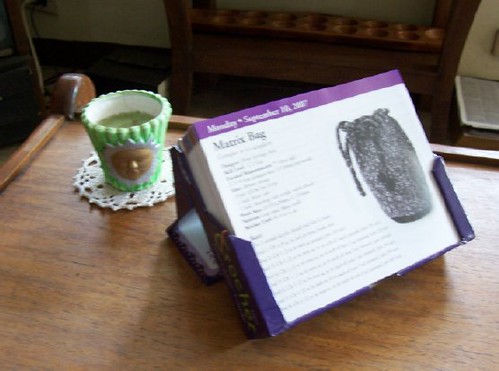
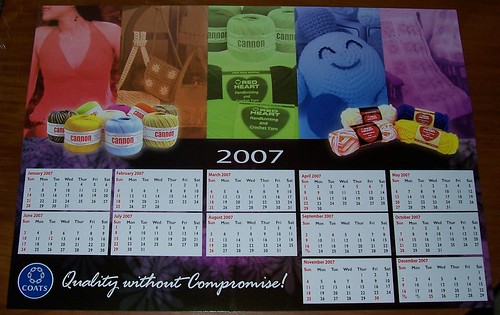
Got my Crochet Pattern-a-day Calendar!


Finally, I received my copy from Accord Publishing! Thanks to the publisher and to whoever mailed it from Lenexa, Kansas ;)
Also, thanks again to Annie Modesitt.

I loved looking at all the projects in there, couldnt put it down until I've seen them all ;) I felt good seeing some of my online friends' patterns in there too, and then showing off my own patterns to my family :)
I think it is worth buying for all the cute patterns in there.
Here are my patterns if anyone is interested to look ;)

Matrix Bag - September 10
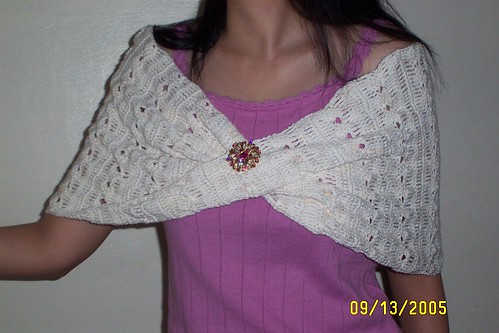
Twisted Wrap - September 12
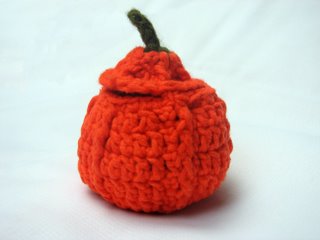
Pumpkin Container with Lid - October 24
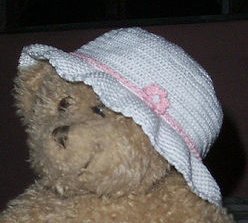
Baby Cotton Hat - November 5
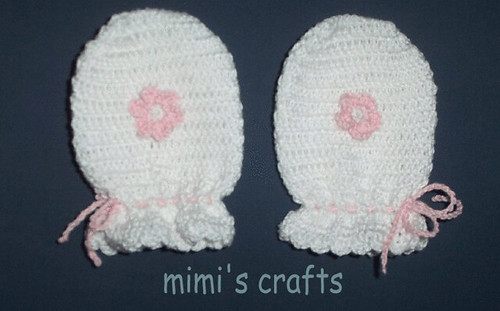
Baby Cotton Mittens - November 6
For more info on the calendar, go to crochet pattern-a-day site.
A big thanks goes to Tina for sending me the crochet calendar which she ordered for me. I did buy a copy so I could lend it out here ;)

Friday, April 20, 2007

Scallop Coaster Pattern

Scallop Coaster
pattern by Mimi Alelis, © 2007

Skill level: Easy
Finished Measurement: approx. 9 cm. in diameter using 1.75mm (no. 2) steel hook
Materials:
Cannon size 8 cotton thread
Steel hook no. 2 (1.75mm)
Yarn needle for weaving ends


Abbreviations
ch =
chain, ss = slip stitch, sc = single crochet, dc = double crochet, st = stitch, rnd = round

Rnd 1: Ch 2, 6 sc in 2nd ch from hook. Do not join, work in a spiral up to rnd 13. Mark the beginning of each rnd.
Rnd 2: 2 sc in each sc around (12 sc).
Rnd 3: 2 sc in each sc around (24 sc)
Rnd 4: sc in each sc around (24 sc)
Rnd 5: (sc on next 2 sc, 2 sc on next sc) repeat around (32 sc)
Rnd 6: (sc on next 3 sc, 2 sc on next sc) repeat around (40 sc)
Rnd 7: (sc on next 3 sc, 2 sc on next sc) repeat around (50 sc)
Rnd 8: (sc on next 4 sc, 2 sc on next sc) repeat around (60 sc)
Rnd 9: sc in each sc around (60 sc)
Rnd 10: (sc on next 5 sc, 2 sc on next sc) repeat around (70 sc)
Rnd 11: sc in each sc around (70 sc)
Rnd 12: (sc on next 6 sc, 2 sc on next sc) repeat around (80 sc)
Rnd 13: sc in each sc around (80 sc) Ss on the next sc.
Shell Edging
Rnd 14:
Note: Ch 3 for 1st dc. *(2 dc, ch 2, 2 dc in the same sp) skip 3 sc, repeat from * around (20 shells) Join with ss to beg of round.
Rnd 15: ch 1, *5 sc in ch 2 sp, sc in between two shells repeat from * around. Join with ss. Finish off. Spray or dampen with water and slightly press.

Scallop Coaster by Neicee:

Sunday, April 15, 2007

Crocheted Dishcloths

I recently joined two swaps in a row. For the first one we exchanged two crocheted dishcloths, and here's what I sent to Mary:


(pattern: crazy cloth; yarn: cotton size 5; hook: i forgot...)

I didnt make only two dishcloths, of course :p Its really a fun project and its the first time I indulged in making it, so I finished up some more (for me):


If you notice they all look the same, except one which I just made up without a written pattern. The other three were made from the same pattern, Crazy Cloth, shared by Kimberly. Fortunately, she is also my swap partner at the Kitchen Swap at FiberFreaks, which is the second swap that I joined in. For this, we exchange two knitted or crocheted kitchen-related items. Quite predictably, I sent her two crocheted dishcloths. But not only the crazy cloth one, but another one which is my first finished tunisian stitch project. Here it was in its early stage:


Now we'll have to wait until Kimberly gets her package of goodies (hmm...two weeks would be the normal time) to see the dishcloths I sent. No, I dont think I spoiled the surprise, you have to see the finished project...plus I had a few more surprises in there too ;)

Tuesday, March 27, 2007

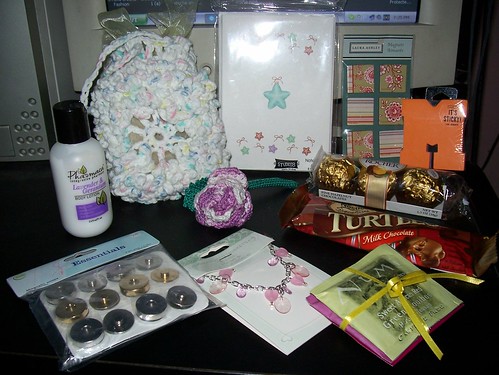
Thanks Su!

I was so surprised on what Su sent me. Several weeks ago, she and I had been talking about the magnetic snaps to be used in crocheted bags. She promised to send me some. More than that, she put up a lovely package for me :) It was so neatly packed, I would not have guessed from the small box would come out a lot of goodies, wow!!!


Cute stuff, I was thrilled!

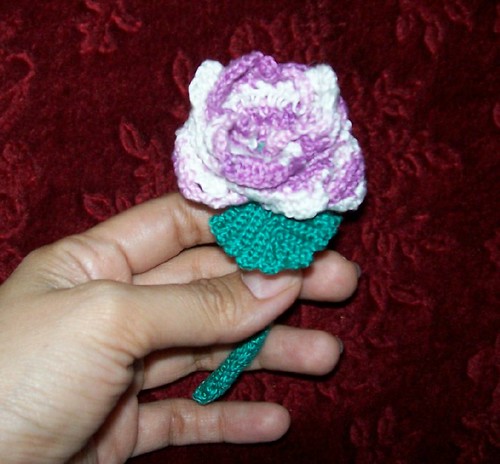
What I love the most was the crocheted flower and the shower flower soap sachet. Her design is so unique and pretty, and I could not figure it out just by looking. I'm glad I dont have to, since she shared her pattern with us. Thanks for sharing the pattern Su, I really appreciate it more looking at your finished work.
Now I still dont know the details of the crocheted flower, but I want to know, its very pretty!
Thanks for everything, Su, especially for the caring thoughts that you put in it :)
I'll "install" a magnetic snap on one of my crocheted bags soon ;)

Thursday, March 15, 2007

Loopy Flowers - free pattern

Hi! I thought its about time I posted another free pattern. This one was done last year in May, and was featured in Design of the month free pattern leaflet by Coats Manila Bay.


Loopy Flowers
© Mimi Alelis 2006 - do not distribute this pattern or post in another site http://mycrochetstuff.blogspot.com/2007/03/loopy-flowers-free-pattern.html

Materials:
Small amounts Anchor cotton thread size 10,
or Cannon cotton thread size 8
Crochet hook , 1.50mm or 1.75mm
Ponytail elastic, or pin
Yarn needle for finishing
Instructions:
Note: There are 3 layers of petals, first one is smaller, the second and third are bigger and worked the same way. Each flower has a center front and center back.
First layer petals
Ch 6, join into a ring with sl st,
Rnd 1: Ch 1 (base chain), (ch 12, sc in ring) 16 times, join w/ sl st to base chain. Fasten off.
Second and third layer petals
Ch 6, join into a ring with sl st,
Rnd 1: Ch 1 (base chain), (ch 16, sc in ring) 16 times, join w/ sl st to base chain. Fasten off.
Center front:
Rnd 1: Ch 2, 6 sc in 2nd ch from hook, join with sl st to 1st sc.
Rnd 2: Ch 1, 2 sc in each sc, join. (12 sc)
Rnd 3: Sc in each sc, join. (wrong side will be facing up)
Rnd 4: (sc tog the next 2 sc) 6 times, join. (6 sc) Fasten off leaving 12” tail.
Center back:
Rnd 1: Ch 2, 6 sc in 2nd ch from hook, join with sl st to 1st sc.
Rnd 2: Ch 1, 2 sc in each sc, join. (12 sc)
Rnd 3: Ch 1, ( sc in next 2 sc, 2 sc in next sc) 4 times, join. (16 sc)
Fasten off leaving 12” tail for sewing.
Assembly: Arrange petals together and sew center front to the three layers of petals. Sew the center back placing a hair elastic or a pin as options.


Other popular designs:
Basic Slippers
Chic Cell Phone Purses
Stylish Crochet Mesh Bags
Stylish Makeup Purse
Shell Halter Top
Shells and Flowers Shrug
Cute Tawashi Designs
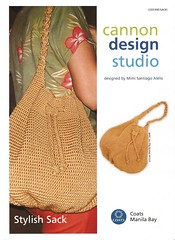
Stylish Sack Bag

All my designs in one page - thanks to Ravelry!

Tuesday, February 13, 2007

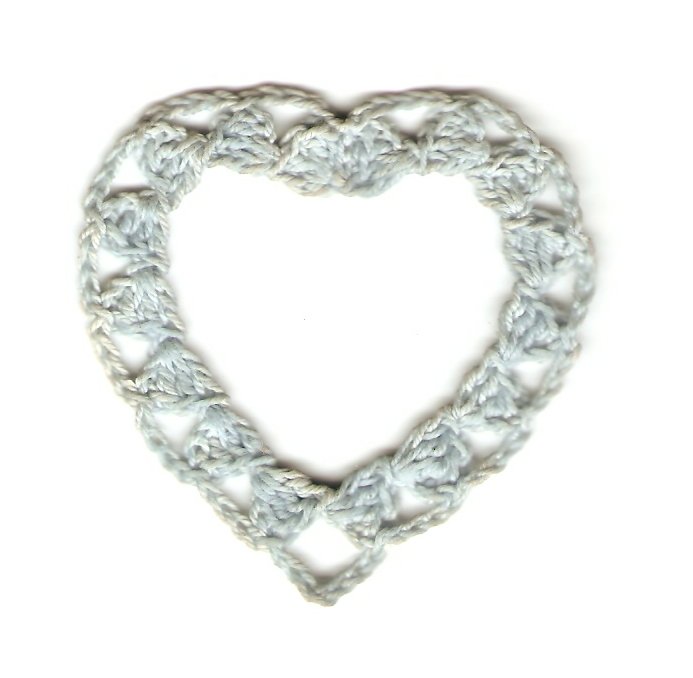
Crochet a Heart Souvenir

Step 1:
Crochet 2 hearts.
This is not my original pattern, I found it on an old issue of Crochet Fantasy magazine.
There are other heart patterns out there. This one is very pretty, but I havent tried it yet.

Step 2:
With one part water and one part white glue mixture, stiffen the two hearts made.


Step 3:
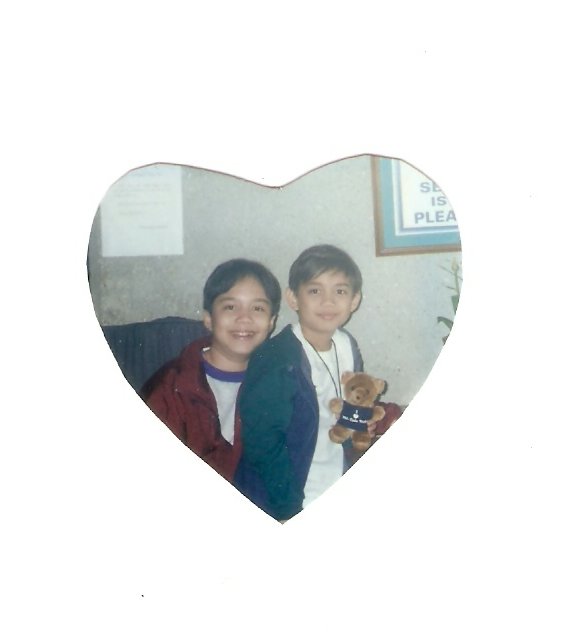
Choose your picture, make sure it fits the space inside the heart. Trace lightly and add an allowance of 1/8" around. Cut.


Step 4:
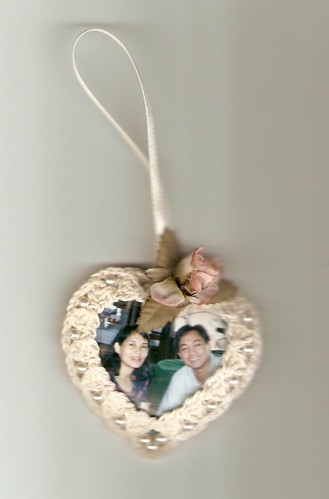
Glue a piece of ribbon or hanging loop to one of the hearts, then position the picture in the center and then glue the other heart on top.

Step 5:
Embellish the heart as desired.


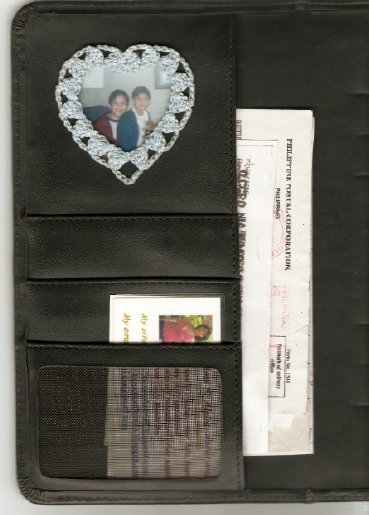
Another suggestion:

Glue one heart with your chosen photo inside the cover of your notebook:

Wednesday, January 31, 2007

Crochet Patterns are now available!

Yay!
At last I can say my crochet designs are now out! Actually, it was already for sale in craft stores here since last week.
Now I am done with the details on my webpages and have put links on my sidebar here.
And so without further ado, here's my new website: Mimi's Crochet Stuff

And here are my pattern designs for Coats Manila Bay:
(please click on the images to view the details)


Hope you like it!

Thursday, January 04, 2007

2006 Crochet and Other Stuff (part 2)

July

• A few small projects done.


My halter design was finished and I started on my sack bag also for Coats.
August

• Finally bought a scanner/copier/printer , it was well worth it! I scanned and showed some old family pictures.
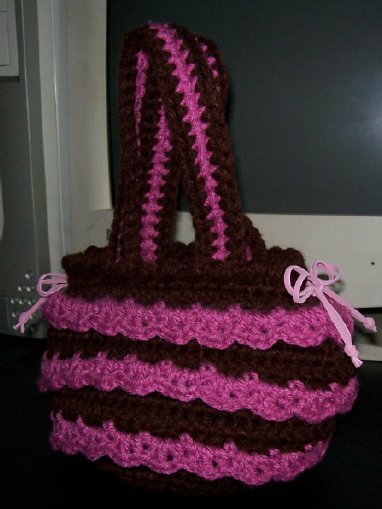
Chie's lil' bag

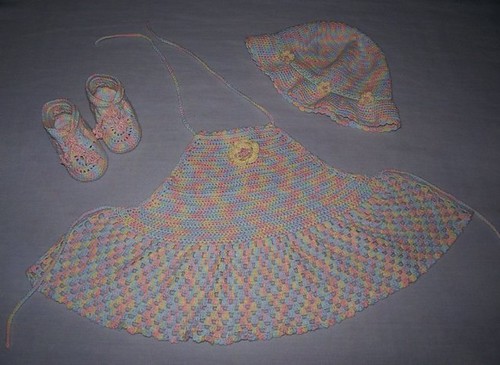
Made a baby set of my own design, halter adapted from a free pattern.

September

• Not much done, I had just finished drawing the diagrams for my four patterns submitted to Coats. I took a break from crocheting :p

October

• The 2007 Crochet Pattern a day Calendar was released, 5 of my patterns were included.


First time I got published in the U.S.!
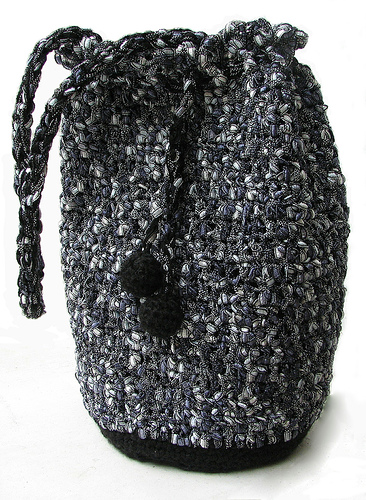
• I received some new colors of Cannon threads and it inspired me to create some new purse designs (will be shown later, when it is printed).
• A preview of my two latest designs - a mesh shawl and a striped belt
for Design of the Month featuring Cannon multicolor threads.

November

• I got my other sister to model the shrug that I made for my Mom
, from my pattern design for Coats.
• I made up a coaster/mini doily pattern and it was accepted for the 2008 Crochet Calendar :D
Designed another scrunchie made from multicolor threads.
• Another free pattern, Stiped Keychain Purse, inspired by the new Cannon multicolor threads.
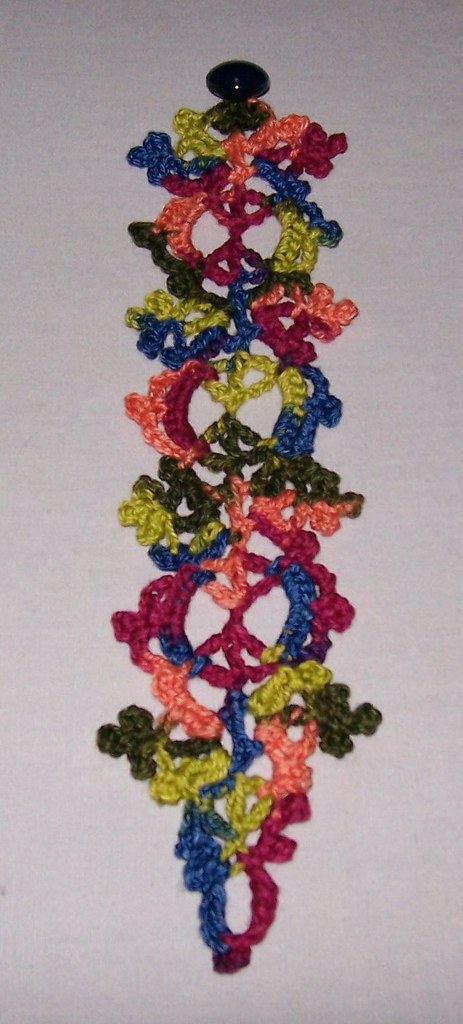
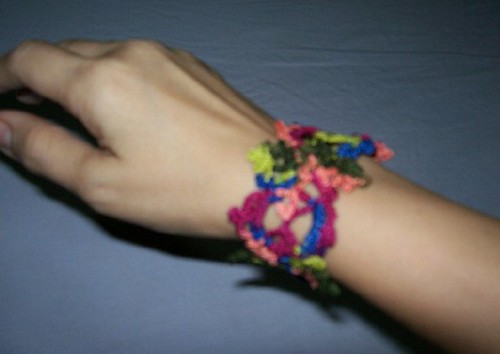
made the Filigree bookmark/bracelet designed by Cheri Mancini.
December

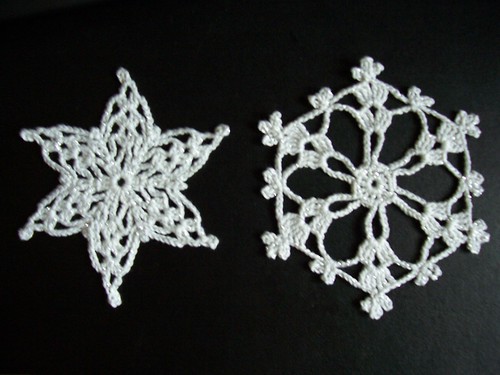
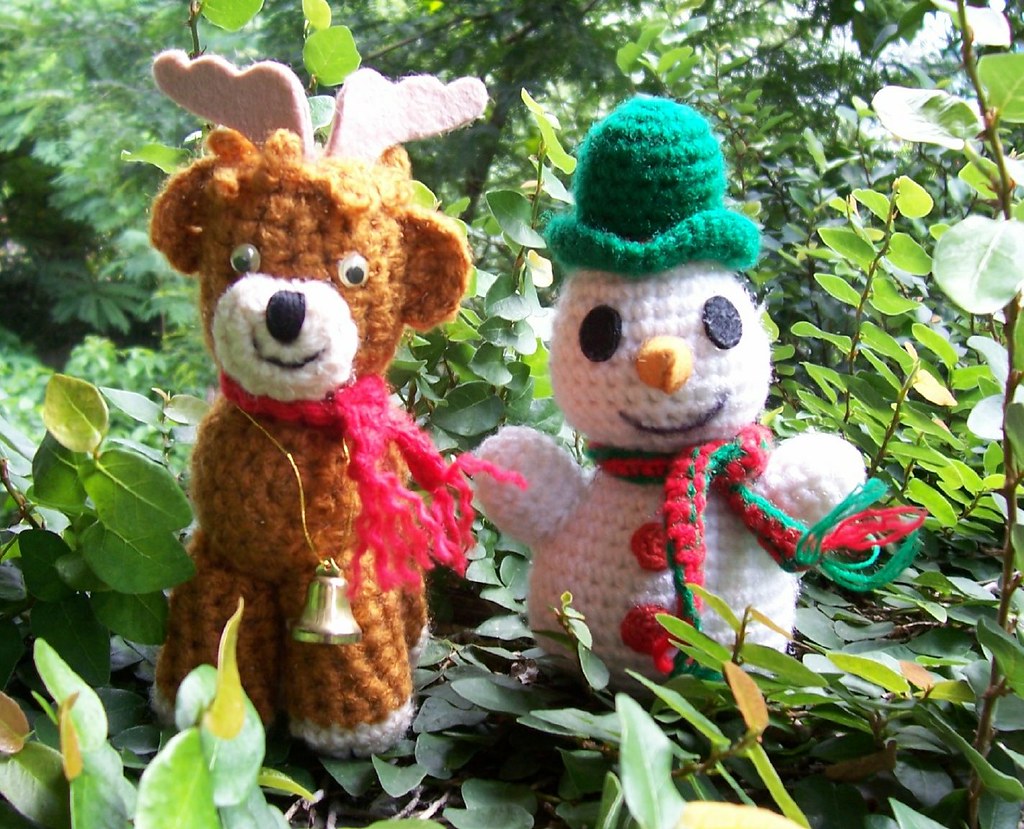
• Revived my old Christmas crochet decors
my halter featured in Coats calendar.