Showing posts with label purses. Show all posts

Wednesday, October 21, 2015

Handy Oval Makeup Purse - free crochet pattern

Crochet pattern - makeup purse
Handy Oval Makeup Purse

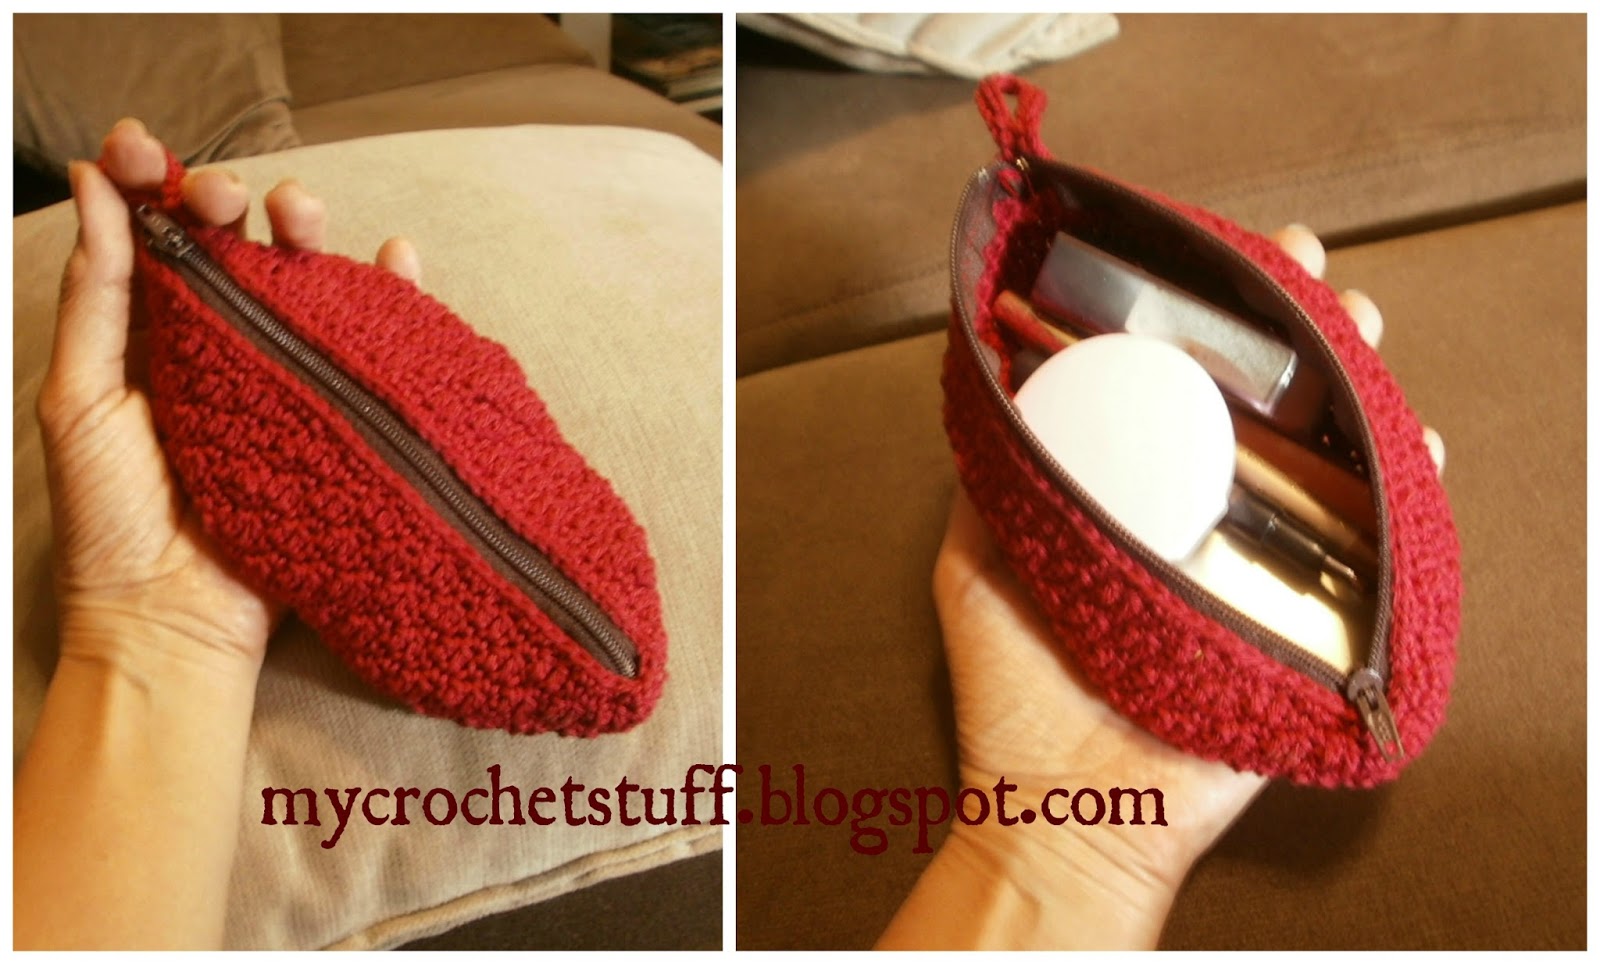
I got the idea for this makeup purse when I saw my sister-in-law using the Handy Coin Purse I gave her, to carry a lipstick and compact powder. Those basic makeup essentials hardly fit into the coin purse, but it seemed like a good idea. It saves the bag from clutter, and the front opening is most practical - since the contents of the purse can easily be seen and retrieved.
Then I recently saw the Oval Basket in my stash, it was folded flat and I immediately saw a purse!
I repurposed the pattern, using lighter weight yarn. The addition of a zipper makes it a cute handy purse. I'm thinking of making more, for gifts this Christmas. And this finished sample I'm sure, will delight my SIL!

Handy Oval Makeup Purse
by Mimi Alelis
October 2015
(updated January 2017)
Materials
Schachenmayr nomotta Catania, 100% cotton, sport weight yarn, 25 gms. (one skein is enough for 2 purses)
Crochet hook 3.5 mm (or 6/0), or hook to match your yarn
Zipper, approximately 8 inches
Needle and sewing thread
Gauge: Rnds 1-3 = approx. 2 3/8" diameter
Finished measurement: sample is approx. 7 " in  length, and 4 " wide measured at the widest part

Notes: Beginning ch 3 counts as dc. Bottom will curl initially, but will flatten when the side is done.

Bottom
Rnd 1: Ch 4, 13 dc in 4th ch from hook, (or, begin with a magic ring, ch 3, 13 dc in ring), sl st on top of beginning ch 3 to join. (14 dc)
Rnd 2: Ch 3, dc in same st, 2 dc in each dc around, join with sl st. (28 dc)
Rnd 3: Ch 3, dc in same st, dc in next dc, (2 dc in next dc, dc in next dc) repeat around, join. (42 dc)
Rnd 4: Ch 3, (2 dc in next dc, dc in next) 6 times, 2 hdc in next dc, hdc in next 6 dc, 2 hdc in next dc, dc in next dc, (2 dc in next dc, dc in next) 6 times, 2 hdc in next dc, hdc in next 6 dc, 2 hdc in last dc, join. (38 dc and 20 hdc)
Rnd 5: Ch 2 (counts as hdc), hdc in next 2 dc, *dc in next 2 dc, 2 dc in each of the next 9 dc, dc in next 2 dc, hdc in next 5 sts, sc in next 6 sts**, hdc in next 5 sts, repeat from * to **, hdc in next 3 sts, join. (76 sts)
Side
Rnd 6: Ch 3, dc in next st, sc in next 2 sts, (dc in next 2 sts, sc in next 2 sts) repeat around, join. (76 sts)
Rnd 7: Ch 1, sc in same st, sc in next dc, dc in next 2 sc, (sc in next 2 dc, dc in next 2 sc) repeat around, join.
Rnds 8 -15: repeat rnds 6 and 7, alternately. (76 sts)
Rnd 16: (edging and handle) Ch 1, sc in 17 sts, sc2tog, ch 16 for loop (make longer if preferred), sl st in the base of loop, sl st in each ch, sc in the next 37 sts, sc2tog, sc in remaining 20 sts.
Fasten off and weave in ends.
Finishing: Sew the zipper

Friday, April 04, 2008

Felted it! crochet hook case

Lately it seems I have started on a number of projects, with patterns needed to be written up...and I don't know what to work on anymore (sigh...) Blame it on the hot weather, I suppose.
So I thought I should make something that is a little more interesting and easier to finish, and no need to write a pattern.
I know I had to try felting, and needed a simple hook case...and with the Caron felt-it that Deneen sent me, the only thing to add was a bit of time and a little imagination. I followed the instructions on the label, and used a 6mm hook. I roughly calculated the no. of stitches with the gauge given...crocheted it vertically in alternating sc and hdc rows.
How I felted it, was just a trial and error process. I didn't want to use a washing machine for something so small. I used a basin, hot water and detergent. I set the basin under the heat of the sun to keep the water hot. I think it felted in about 20 mins. I swirled the item in the basin and pounded on it too. I really didn't know how it should be done(I might have looked mad doing it, LOL!), but after a while it seemed to get thicker and I could hardly see the stitches. So I thought it was good enough. After drying it looked like this:


I'm wondering why it looks more felted in person than in the above photo. Anyway, I thought with a little trimming and a button, it would be a good-looking hook case. With my local acrylic yarn in dark pink color, and using a small hook (size 2mm), I poked the hook through and sc'd along the edge. At the flap, I made a loop for the button.

Saturday, December 01, 2007

Purse Keychain by Mary Jane Hall

Last week, I wanted to give to my 3 nieces visiting from Australia, a handmade gift that they will like. Just in time, these yarns arrived from my sis in London.


Lustre Fancy Yarn, distributed in UK by Wilkinson,
50% polyester, 50% acrylic.
It has a metallic look, so its hard to photograph. I loved working with it, its smooth and soft. (Though I had a hard time weaving in the ends with a large needle.)


These are the three keychain purses I made, I bought 2 pairs of fancy silver earrings, which I used to embellish the purse. I also bought 3 charm bracelets, to put in each of the purses, it was a nice gift!...but I think they liked the bracelets more :p


Yesterday, I made another one of the purse keychain, since I have one more of the earring to embellish it. I tried to get a good shot, but still...


So, I scanned it...

Wednesday, December 27, 2006

Bag WIP

Last week I started this bag. I decided to make this for myself for the holidays. Today I made a lot of progress on it, that I’m sure it would make it before the New Year ;)
The first time I thought of this design, I wanted it to be original. It also has to be comfortable to carry, roomy enough, and not too big so it can be made in a few days. And since I avoid sewing a zipper, I made it with a drawstring :)
I decided on a neutral color – tan, for the first one that I made. I did like it so much that I hated to part with it and sell it, along with the pattern to Coats Manila Bay :p
Anyway, I really wanted the bag and I thought of making another one in the same color. But now I was in the mood for a darker shade so I chose a bronze-like color. And I already have a pair of sandals to match it ;)

Sunday, November 19, 2006

Designer bags, crochet version

I recently came across a site by Stephanie Syjuco, an established multidisciplinary artist based in San Francisco, California. She is a Filipino immigrant to the U.S.
Among other interesting items on her site, the one that kept me looking on was her counterfeit bag project, with crochet skills being used to imitate expensive designer bags. Did you see the cute chanel purse counterfeit she made?
As I googled on to know more about her and her project, I saw that there was an article at Crochet Me magazine about this.

I emailed her to introduce myself and let her know that I'm very interested in joining her project. But I said, I still have not decided on what bag to counterfeit, and I might not be able to start this year. I do hope the project would still be going on by next year. I'm so glad she wrote back, and encouraged me to join.

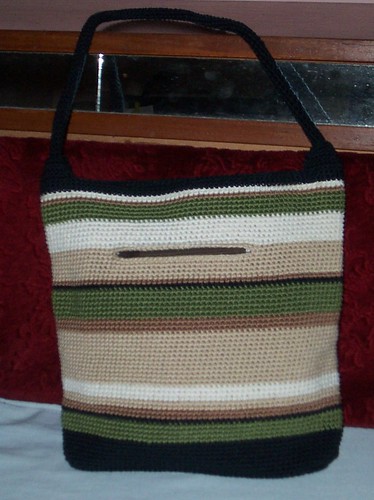
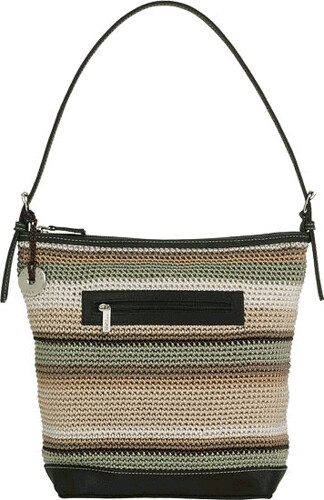
I showed her a photo of my imitation sak bag, which has remained a UFO for more than 2 years now. But I wont be submitting this one, since the bag I imitated is already crocheted, and there isnt much of a challenge in that...Also this one has been around for quite sometime.
Edited to add:
Whatever the purpose of this project, is apart from my intentions in imitating a famous designer bag. For me this project is merely for art's sake, to interpret an expensive bag design in my own homemade version. No profit is intended to be gained from this. This is not similar in any way to the manufacture of imitation designer bags, mass-produced and sold everywhere.


(borrowed pic)