Saturday, January 29, 2011

Crochet Business Updates

Some Trivial Updates:

I've just ordered a pack of custom-made business cards from Moo and its free! If you're a seller on Etsy, maybe you can still avail of this offer which is good for the first 5,000 Etsians. There's a downside though...I had to pay $15.75 for shipping! (pay $6. if you're in U.S.)
Anyways, I saw that they offer a free sample pack (totally free!), so I went ahead and requested for it. Will post here when I receive my goodies from Moo ;)

I found out that the Moth Wings Shrug is included in the choices for CrochetMe CAL project. That could be fun to do. I don't exactly love making the motifs, but I love the result ;) I've already made 4 shrugs from it. Maybe I'll get inspired to finish my WIP beige shrug from this design, with this CAL.

You may cast your vote here.

Btw, the Moth Wings Shrug pattern is available here in the Interweave Store.


Would you like to make this scarf? I used up one ball of pink thread, and about half a ball of gray thread. Hook size is 3.5mm.
I'm still thinking of posting the pattern here, or maybe offer it as a promo in my Ravelry pattern store.

Lastly, if you are looking for more wearable crochet designs from me you might be interested in my upcoming designs for Coats Manila Bay. We are working on a cap-sleeve cardigan, a triangular shawl, and another shapely tunic (...I'm running out of names for my designs!) I think you'll like it as much as I do :)

Saturday, January 15, 2011

Summer Shells Scarf - free crochet pattern

This is one of the scarf patterns in my Trio of Tropical Scarves pattern collection. It uses up two balls local cotton thread size 8.


Summer Shells Scarf
by Mimi Alelis, copyright 2010
Finished size: (shown in regular size) 7 ½ inches by 56 inches
Materials:
Cannon cotton thread, size 8 (light fingering 3-ply), 2 balls
4mm (7/0) hook
Special Terms and Abbreviations
ch - chain, sc - single crochet, sl st - slip stitch
edc (extended double crochet) - yo, insert hook into stitch, yo, pull through stitch (3 lps on
hook), yo, pull through 1 loop, (still have 3 lps on hook) yo, pull through 2 lps, (2 lps on hook), yo, pull through remaining 2 loops.
shell – (2 edc, ch 1, 2 edc) in same space
Notes: Gauge is not so important for this project, but the use of a large hook (4mm) makes
for a lighter, softer fabric.
Towards the end of the project, you may choose to work until you use up the ball of thread,
or finish off when scarf is of desired length.


Scarf, regular size (approximately 7 1/2 inches wide)
Start with ch 46. (Increase or decrease width in multiples of 6 chs)
Row 1: Edc in 4th ch from hook, ch 1, 2 edc in same stitch, ch 3, skip 5 chs, (2 edc, ch 1, 2 edc) in next ch (shell made). (Ch 3, skip 5 chs, shell on next ch) 6 times. Turn. (8 shells)
Row 2: Sl st on ch 1 sp. Ch 3, edc in same space, ch 1, 2 edc in the same space. (Ch 3, shell in ch 1 space of next shell) 7 times. Turn. (8 shells)
Repeat row 2 until at least 4 meters of thread remain.
Last row: Sl st on ch 1 sp. Ch 3, edc in same space, ch 1, 2 edc in the same space. (Ch 2, sc in ch 3 space, ch 2, shell in ch 1 space of next shell) 7 times. Fasten off.
Now work on other side of foundation chain. Attach thread on the base of first shell.
Row 1: Ch 3, edc in same space, ch 1, 2 edc in same space, (ch 3, shell on the base of next shell) 7 times. Turn.
Next: Repeat above from row 2 up to the end of last row.
Fasten off and weave in ends.


Skinny scarf version
Use one ball thread (like Cannon or Monaco) and 4mm hook
Start with ch 22.
Row 1: Edc in 4th ch from hook, ch 1, 2 edc in same stitch, ch 3, skip 5 chs, (2 edc, ch 1, 2 edc) in next ch (shell made). (Ch 3, skip 5 chs, shell on next ch) 2 times. Turn. (4 shells)
Row 2: Sl st on ch 1 sp. Ch 3, edc in same space, ch 1, 2 edc in the same space. (Ch 3, shell in ch 1 space of next shell) 3 times. Turn. (4 shells)
Repeat row 2 until about 30 inches from the beginning.
Last row: Sl st on ch 1 sp. Ch 3, edc in same space, ch 1, 2 edc in the same space. (Ch 2, sc in ch 3 space, ch 2, shell in ch 1 space of next shell) 3 times. Fasten off.
Now work on other side of foundation chain. Attach thread on the base of first shell.
Row 1: Ch 3, edc in same space, ch 1, 2 edc in same space, (ch 3, shell on the base of next shell) 3 times. Turn.
Row 2: Sl st on ch 1 sp. Ch 3, edc in same space, ch 1, 2 edc in the same space. (Ch 3, shell in ch 1 space of next shell) 3 times. Turn. (4 shells)
Repeat row 2 until about 2 meters of thread remain.
Last row: Repeat last row above. Fasten off and weave in ends.


See here some tips how to wear a crochet scarf.

Friday, January 07, 2011

Crochet Stuff 2010 year-ender post

Happy New Year, we made it to 2011!
Crochet is still in for this year's fashion, as mentioned in this article
- macrame and crochet will make a strong return; but forget the homemade craft feel - it's all about intricacy, quality and a luxury edge.


Hmm...what a big challenge to stay fashionable with crochet! Lets just leave those to the runway and make our own wearable crochet fashion ;)
There is also a trend to combine crochet with fabric...so I'm thinking this could be our chance to use our fabric stash, or to recycle some from outdated clothes; and to take out the sewing machine and improve on our sewing skills ;)
But first, please join me as I take a look back at my crochet adventures in 2010 :)
Here are the highlights:


Blogging is finally paying off for me, with Google Adsense. I got my first and succeeding payment this year!


My first design submission to Interweave Crochet magazine was accepted, and I sent off the design sample and requirements in January 2010. It got published in the Summer 2010 issue. It was such a thrill to say the least!

I had not submitted anything else though, and that's one of my goals for this succeeding year ;)


Free Crochet Patterns published in 2010:

Tropical Shawl with fringe
Tropical Flower Pin
Kitchen Towel Topper
Radiant Coaster/Doily
Flower Choker
Mug Cozy
Playful Santa Hat

Patterns added to my Ravelry store in 2010:


8-Petal Flower Pendant 


Camo Newsboy Cap     
            
Stylish Chain Scarf  

Stylish Chain Cowl    

For my other crochet projects, you can always check my Ravelry page. If you're not on Ravelry yet, then c'mon and join!


Lastly, big thanks to my 2010 super models:

Divvy 

Lovely  


Mel 


That's all folks. Hopefully there'll be a lot more in 2011. Thanks for looking!

Saturday, December 25, 2010

Happy Holidays!

Happy Holidays!


Hello, wasn't able to post sooner due to internet connection issues...Hope you are all enjoying your holiday.
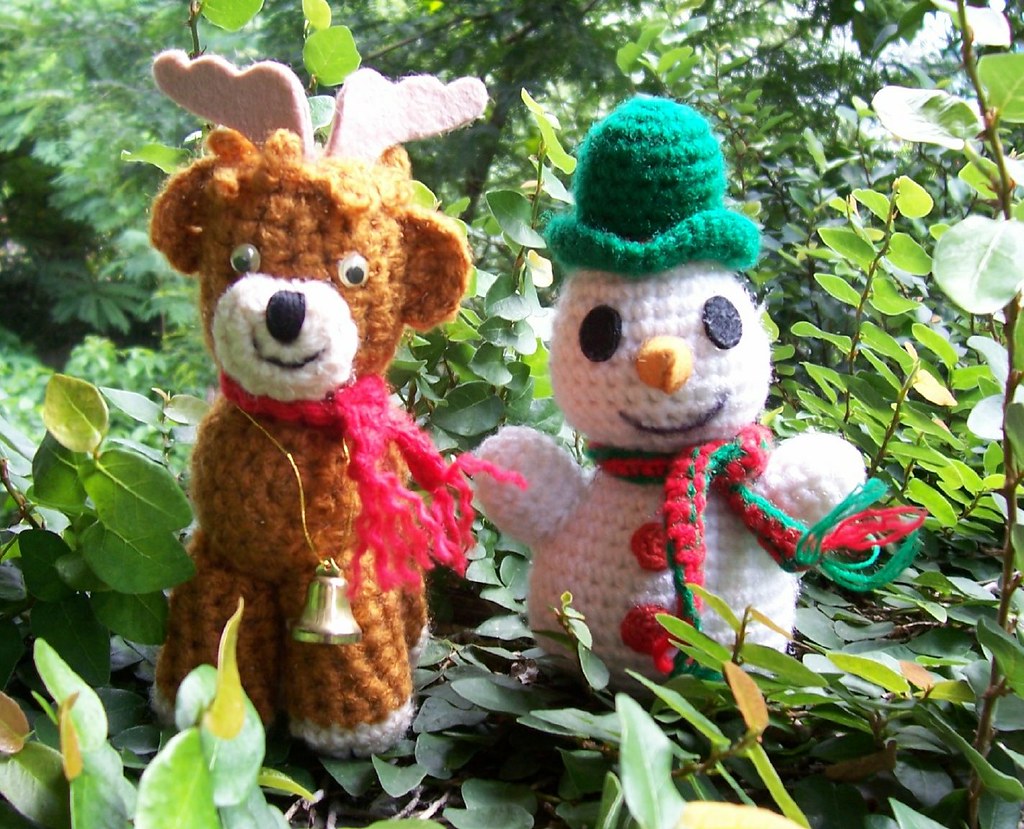
I didn't have any new crochet decor this year, so I used the photo from a previous year's post.

I don't have much crochet FOs either, and I couldn't show yet my recently finished design. But here's a new holiday-themed crochet item I made:


I found a kitchen towel with snowflakes print, nice and affordable. I used my kitchen towel topper pattern to finish it off ;)

And here's a new modeled pic of the crocheted Santa hats for my niece and grandniece:


Aren't they so cute?...My grandniece sure loves to pose :)

Thanks for stopping by my blog! Hope to be back soon to post a year-ender.

Saturday, December 11, 2010

Crochet wearables

This time of the year is a bit colder here and just right to wear some light cardigans and shrugs. There are plenty of different styles in different fabrics at the RTW racks, but of course I'm always thinking about crochet cardigans and shrugs ;)
My Shells and Flowers Shrug design from a few years ago, is still wearable today. Here is one recently made for me by my crochetaholic buddy, Yolanda. She gifted me this to show her appreciation for my designs...I feel so blessed! Though it is very hard for us to see each other personally, she found a way to send it to me :)


And here's another new Shells and Flowers Shrug project shared on Ravelry by mollyfaerie: Love it!


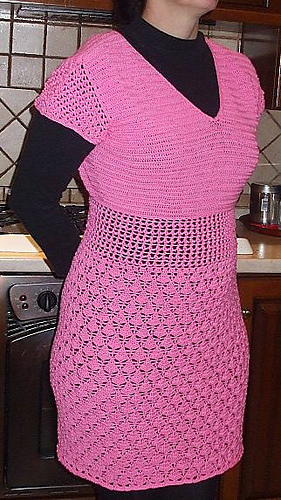
Oh, and I've finally finished the Shapely Tunic for my SIL (though I still have to weave in ends and edge the neck...), here it is...hope she likes it!


Here's another Shapely Tunic project, this one is by Riohnna and modeled by her:


Tuesday, November 30, 2010

Crochet a Santa Hat - free pattern


Playful Santa Hat
by Mimi Alelis, © 2010
An easy and fun holiday project to make for anyone in the family.
http://mycrochetstuff.blogspot.com/2010/11/crochet-santa-hat-free-pattern.html
Pattern/project details on Ravelry: http://www.ravelry.com/patterns/library/playful-santa-hat

Note: this pattern has been slightly modified as of December 2017, to improve the shaping and fit. I'll upload recent projects soon as available.

Sizes: Adult (child)
Materials
Red Heart 3-ply yarn (or other locally available acrylic yarn), 4 (3) skeins (15gm each) red, 2 skeins white
Crochet Hook size 4mm.
Gauge: 9 sts and 4 rows in dc = 2 inches
Stitches used:
ch = chain, sc = single crochet, hdc = half-double crochet, dc = double-crochet
dc2tog = [Yarn over, insert hook in next stitch, yo and pull up loop, yo, draw through 2 loops] 2 x, yo, draw through all loops on hook.


Hat
Band
Note: Ch 2 at the beginning of hdc rows count as hdc.
Row 1: With white yarn, ch 14 (11), hdc in 3rd ch from hook and on each ch across, turn. (13, 10 hdc)
Row 2: Ch 2, hdc in back loop only of each hdc across, turn. (13, 10 hdc)
Rows 3 – onward: Repeat row 2 until it measures 20 (18) inches across rows unstretched, or desired fit around head, ending with an even numbered row (sample shown in adult size is up to 60 rows).
Match the edge of first row with the last row. Join by slip stitching in the back loop of last row and the foundation ch of 1st row, in each st across. Fasten off white.
Crown
Note: Crown of hat is worked in a spiral, put a marker at the beg of each rnd, and move the marker up as you go. (You may use a slightly bigger hook for the crown for a looser fit.)
Rnd 1: Attach red on the edge of first row of band, ch 1, sc on same st, (ch 1, sc on edge of next row) repeat around. Ch 1, do not join.
Rnd 2: Sc in 1st sc of rnd 1, hdc in ch1 sp, (2 dc in next ch1 sp, dc in next ch1 sp) repeat around.
Rnd 3: Hdc in sc, dc in hdc, dc in back loop only of each dc around. (Note: from hereon all stitches will be done in back loops only)
Rnd 4: Dc in each dc around.
Rnd 5: Dc in each dc, with dc2tog every 9th and 10th st.
Rnd 6 & 7: Repeat rnd 4.
Rnd 8: Dc in each dc, with dc2tog every 7th and 8th st.
Rnd 9 & 10: Repeat rnd 4.
Rnd 11: Dc in each dc, with dc2tog every 5th and 6th st
Rnds 12: Repeat rnd 4.
Rnds 13 - 20: Repeat rnd 11 and rnd 4, four times.
Adult size only:
Rnds 21 - 24: Repeat rnd 11 and rnd 4, two times.
All sizes:
Rnd 25 (21):  Dc in each dc, with dc2tog every 3rd and 4th st.
Rnd 26 (22): Dc in each dc around.
Last rnd:
Remove marker; (dc in next 2 dc, dc2tog next 2 dc) repeat continuously, until about 4 sts remain. Fasten off.
Weave in ends. Make a pompom from white yarn and sew at the tip.
(Note: Here's a Google search for making your own pompoms.)


Playful Santa Hat, by Mimi Alelis
http://mycrochetstuff.blogspot.com/2010/11/crochet-santa-hat-free-pattern.html
(pattern for personal use only, do not copy or post anywhere else)